This guide walks you through creating your first project on Servycore and getting it ready for your community.
Prerequisites
- A verified Servycore account
- An active team (created automatically on registration)
Step 1: Access the Panel
Log in to your Servycore account and navigate to the Panel. You'll land on the Projects page where all your existing projects are listed.
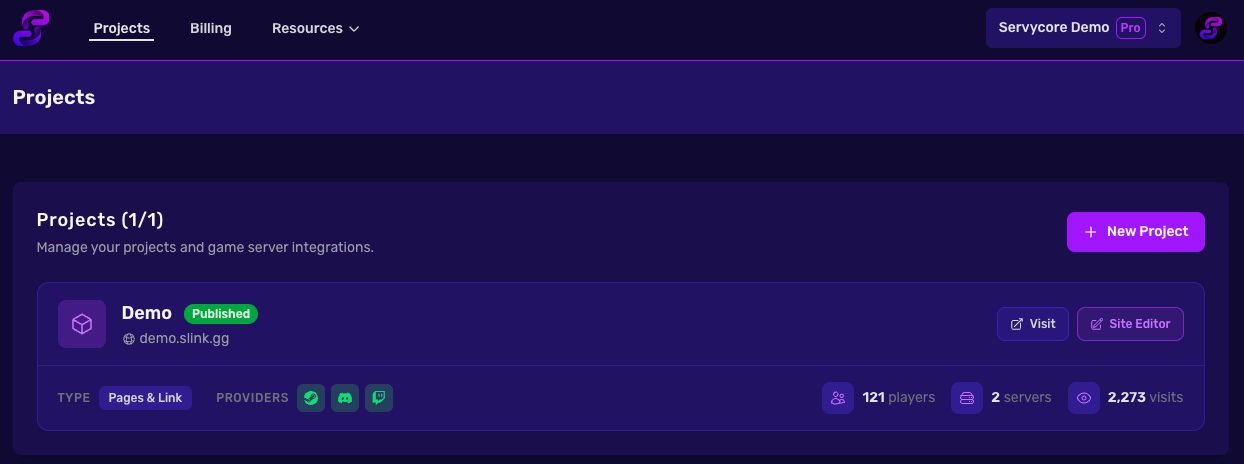
Click the New Project button to start.
Step 2: Fill In Project Details
A modal will appear asking you to fill in:
- Project Name (3-35 characters): The display name for your project
- Subdomain (3-35 characters): Used for your project URL (e.g.,
your-slug.slink.gg). Auto-generated from the name but can be customized
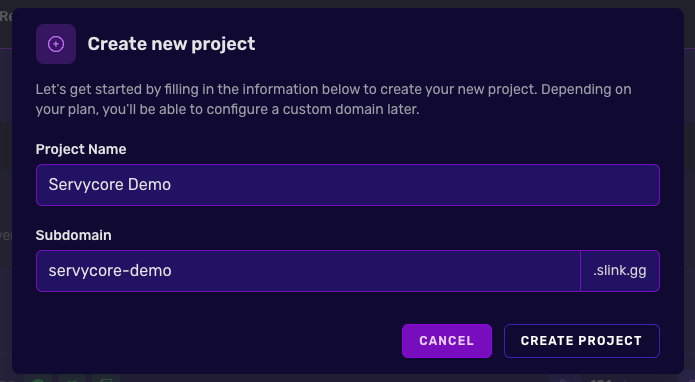
Click Create Project to continue.
Step 3: Configure Your Project
Once created, navigate to the Options tab in the left sidebar. This is where you configure your project's core settings.
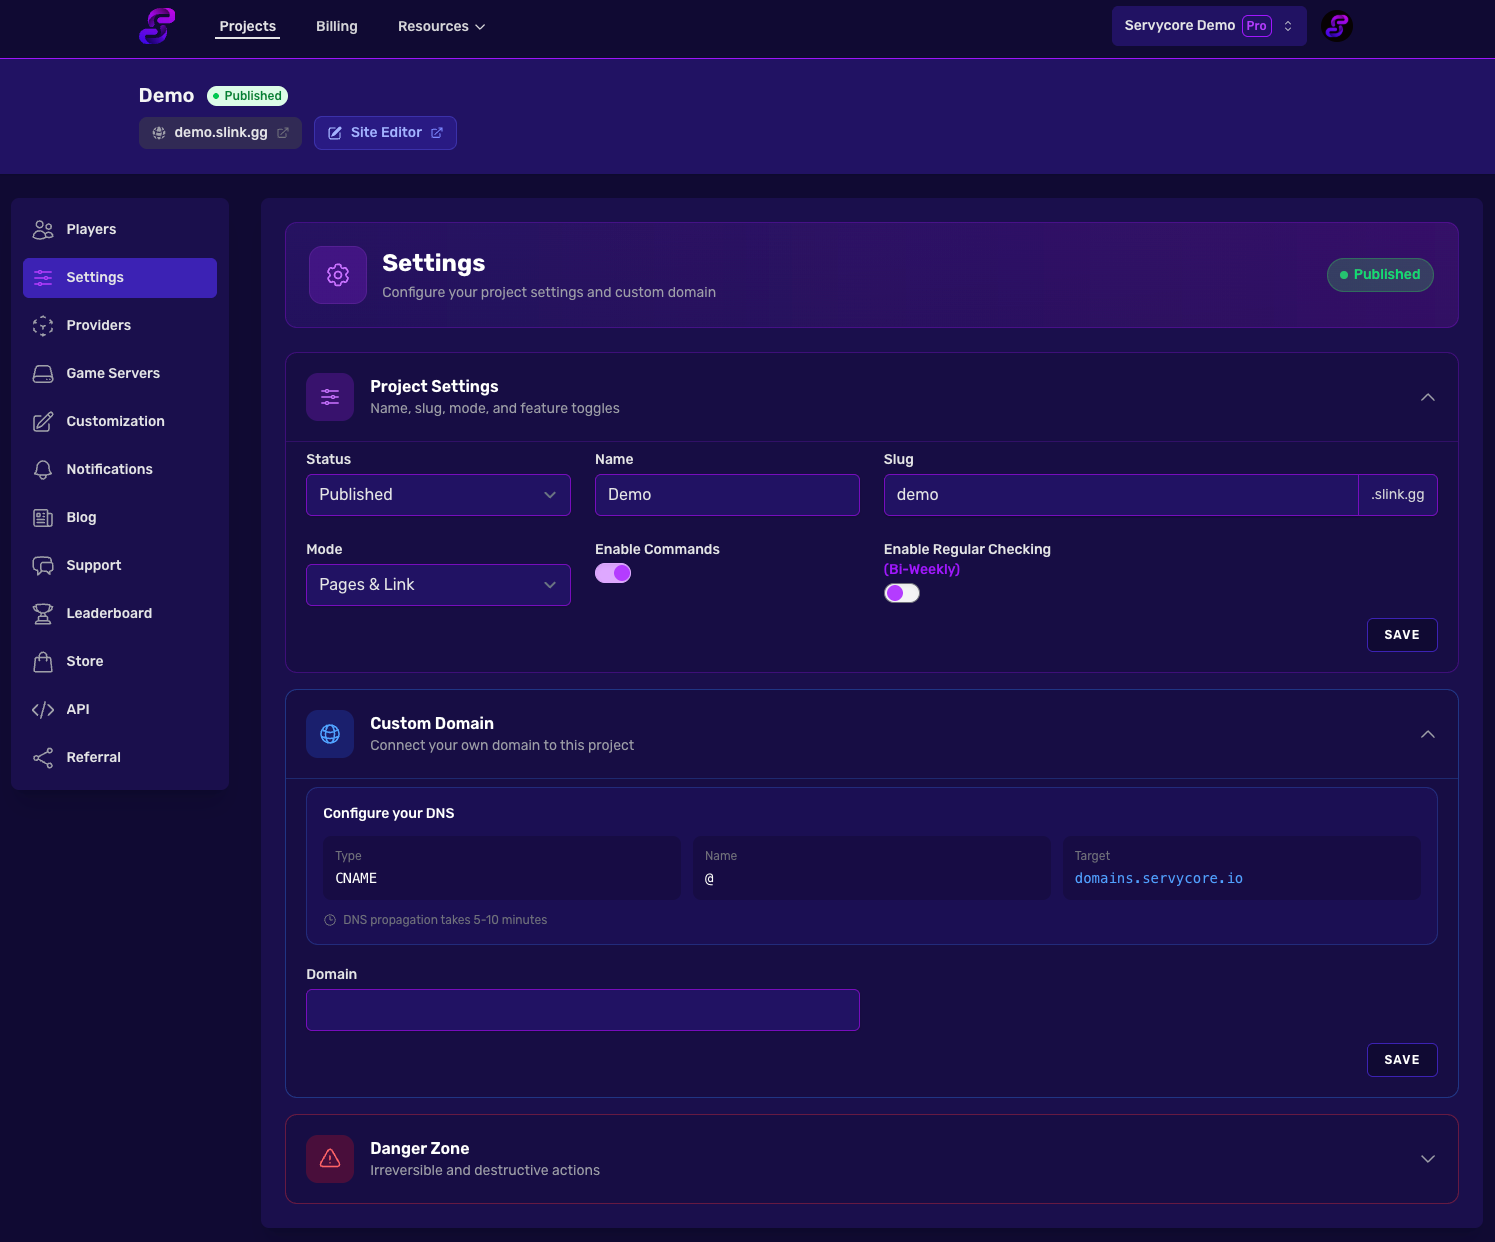
Project Settings
| Setting | Description |
|---|---|
| Status | Published or Draft. Draft projects are not accessible publicly |
| Name | Your project's display name |
| Slug | Your subdomain (e.g., demo.slink.gg) |
| Mode | Choose how your public pages work: Pages & Link (full portfolio + account linking), Link Only (account linking only), or Pages Only (portfolio without linking) |
| Enable Commands | Allow Servycore to execute commands on your game servers when players link or unlink |
| Enable Regular Checking | Automatically re-verify players on a schedule (weekly, bi-weekly, or monthly depending on your plan) |
Custom Domain
Open Domain in the Website group of the project menu to replace the default your-slug.slink.gg URL with your own domain (from the Basic plan). Point a CNAME record to domains.servycore.io and enter your domain in the field provided.
Step 4: Set Up Providers
Navigate to the Providers tab to configure Discord, Steam, and Twitch linking. See the dedicated guides for each provider:
Step 5: Add Game Servers
Head to the Game Servers tab to connect your game servers (the onboarding does it for your first one: pick the game; a Rust server is added with its RCON address, port and password, the other games connect next with RCON or your Pterodactyl panel). This enables command execution when players link or unlink accounts. See Connecting Your Game Server for detailed instructions.